



You've found a poster you want to display, ordered a frame advertised as 24 x 36, and then noticed that the measurements don't quite agree. One listing says 61 x 91 cm, another says 61 x 91.5 cm, while the poster itself may be a US one-sheet, a maxi poster, or a trimmed contemporary print. That small difference in terminology can mean the difference between a clean display and a crushed edge, visible gap, or expensive framing mistake.
For valuable original film posters, the frame isn't just decoration. It controls how safely the paper is handled, how much light reaches it, and whether the piece can be removed without damage. The UK market adds another complication because the familiar 24 x 36 format sits alongside the traditional 30 x 40 inch British cinema quad, even though the two formats serve very different purposes.
Table of Contents
- Understanding the 24 x 36 Framing Standard
- Choosing Between DIY and Professional Framing
- Preservation Essentials for Valuable Posters
- Measuring and Installing Your Poster Frame
- Common Mistakes to Avoid When Framing
Understanding the 24 x 36 Framing Standard
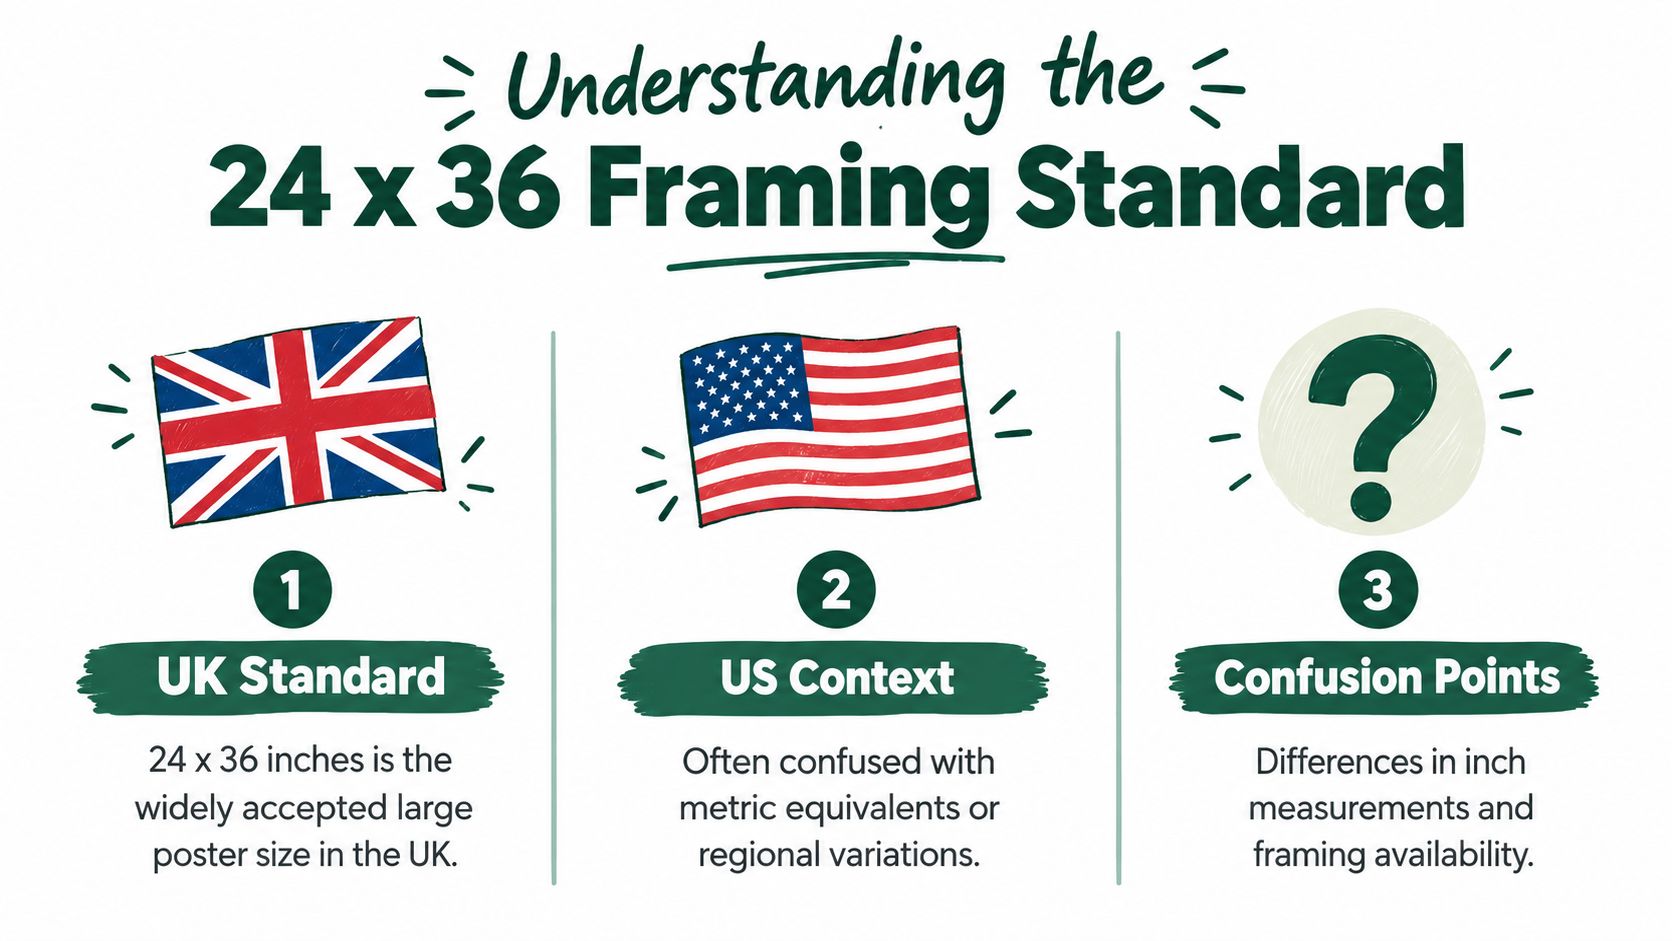
In the UK, 24 x 36 inches is widely treated as the standard large poster frame size. Depending on the supplier, you'll see it converted to approximately 61 x 91 cm or 61 x 91.5 cm, and it's commonly described as a 2:3 format for posters and large statement prints. IKEA UK lists 24 x 36 inches alongside 61 x 91 cm in its picture-frame size guide.
That doesn't make it the traditional UK cinema-poster size. British theatrical posters historically centred on the 40 x 30 inch quad, a horizontal format that is larger in both dimensions than 24 x 36. The practical distinction matters. A US one-sheet import or modern film-art print may suit a portrait 24 x 36 frame, while an original UK quad needs an entirely different horizontal frame.
Read the listing carefully
The advertised measurement normally refers to the image opening or internal aperture, not the outside edge of the frame. UK framing references make that distinction clear in guidance from ArtCalcs on frame sizes. The outer dimensions will be larger, often by 1 to 2 inches, depending on the frame profile and border thickness, as explained in Kenro's frame-size guide.
Before ordering, check three things:
- Poster paper size: Measure the trimmed sheet, not the packaging.
- Usable aperture: Confirm the internal opening rather than relying on the frame's outer dimensions.
- Orientation: A 24 x 36 frame is usually portrait, but many products can be hung either way.
Some UK print guidance also labels 24 x 36 as European B1, although suppliers may use different metric wording. That's why a frame described as 610 x 914 mm can still be the same nominal product as one listed as 61 x 91.5 cm. For further practical guidance on matching a film poster to its frame, see this UK movie-poster framing guide.
The safest rule is simple: measure the poster, then compare those measurements with the frame's internal aperture. Don't assume that “24 x 36” tells you whether the paper will sit under a mount, show a border, or fill the frame edge to edge.
Choosing Between DIY and Professional Framing
The right framing method depends less on the nominal size than on the value, condition, and future importance of the poster. A modern decorative print can tolerate a straightforward ready-made frame. An original film poster with folds, paper weakness, restoration, or collector value deserves a more controlled approach.
Ready-made frames
A ready-made 24 x 36 frame is often the sensible choice for a contemporary print or inexpensive promotional poster. Suppliers sell this format as a standard UK-available size, which can reduce lead time and avoid the expense of a bespoke build. It also gives you a predictable replacement option if the frame is damaged later.
The compromise is fit and material quality. A low-cost frame may have a thin backing board, basic glazing, and limited room for a mount or spacer. It can look perfectly acceptable on the first day but leave little tolerance for a poster with a narrow border, slight trimming variation, or paper that has changed shape through humidity.
DIY conservation work
DIY can work when you already understand paper handling and have the right materials. Use a clean, dry workspace, acid-free board, reversible hinges where appropriate, and glazing that reduces UV exposure. Don't use spray adhesive, ordinary double-sided tape, or pressure-sensitive tape directly on an original poster.
A DIY frame isn't automatically a poor choice. The risk comes from treating a valuable poster like a disposable print. If you're uncertain about mounting, a practical overview of the decisions involved is available in this guide to the cost of framing a poster.
Bespoke local framing
A professional framer earns their fee when the poster isn't perfectly regular. Bespoke work is particularly useful for damaged edges, uneven trimming, repaired folds, unusual paper thickness, or a composition that needs a carefully planned mount. The framer can build the package around the actual object rather than forcing the object into a nominal size.
| Option | Works well for | Main limitation |
|---|---|---|
| Ready-made frame | Modern prints and inexpensive posters | Limited tolerance and basic materials |
| DIY conservation frame | Confident handlers with suitable supplies | Errors can become permanent |
| Bespoke framing | Valuable, fragile, or irregular originals | Higher cost and longer preparation |
A good framer should explain how the poster will be attached and removed. Ask whether the mounting is reversible, whether the board is acid-free, and whether the glazing protects against UV exposure. If the answer is vague, choose another workshop.
Preservation Essentials for Valuable Posters
A valuable poster needs protection from light, acidic materials, pressure, and accidental contact. The frame itself is only the outer structure. The preservation work happens in the layers that hold the paper away from harmful surfaces.

Start by measuring the poster without flattening it aggressively. Record the height and width at several points, because an older sheet may not be perfectly square. Then inspect the edges, folds, repairs, and printed border. A frame that matches the nominal measurement can still be wrong if the usable artwork area varies.
Build a reversible package
Use acid-free mounting materials and a barrier between the poster and the frame's wood, paperboard, or backing. Conservation framers also recommend acid-free tapes and matboards, as outlined in this UK conservation-framing guidance. The purpose is chemical isolation. Acidic materials can accelerate paper deterioration and leave discolouration or permanent marks over time.
Avoid direct adhesive contact with the poster. For an original, a reversible hinge system is generally safer than permanently bonding the sheet to a board. The poster must be removable for inspection, resale, or future conservation treatment.
Collector's rule: If the poster can't be removed without tearing, delaminating, or leaving adhesive behind, the mounting method is unsuitable for a valuable original.
Choose glazing that reduces UV exposure, especially where the poster will receive daylight. High-clarity glazing can improve presentation, but the practical choice also depends on glare, room brightness, safety, and the size of the frame. Shatter-resistant styrene or acrylic may be preferable in a busy home, while glass can offer a different optical finish. Neither option makes direct sunlight safe for vintage paper.
The poster shouldn't touch the glazing. A mount or spacer creates separation and reduces the chance of moisture becoming trapped against the printed surface. This is important for large paper because humidity can contribute to cockling, especially when the sheet is held too tightly.
The following video offers a visual reference for the handling and assembly principles involved:
Over-tight sizing is a common professional warning sign. A poster may have been trimmed slightly, or it may have expanded and contracted in changing indoor conditions. If the frame forces the edges against the aperture, the paper can buckle at the corners or develop edge cockling. A little presentation tolerance is safer than a rigid fit.
For a broader practical explanation of mounting and protection, consult this guide on how to frame a poster. The central principle remains unchanged: keep the process reversible, keep acidic materials away, and keep the paper separated from the glazing.
Measuring and Installing Your Poster Frame
Begin with the poster, not the wall. Lay it on a clean surface and measure the paper edge to edge in both directions. If the sheet is rolled, let it relax gradually rather than forcing the curl flat with your hands. A stubborn curl can create pressure points when the backing is installed.
Now measure the frame's internal aperture. The advertised 24 x 36 size usually describes the image opening, so the outside edge will be larger. Place the poster behind the frame before removing any protective film from the glazing. This dry fit shows whether the sheet sits comfortably, whether the printed border remains visible, and whether a mount or spacer is needed.
A realistic fitting check
Suppose the poster is sold as 24 x 36 but the frame's usable opening is marginally smaller than the paper. Don't trim the poster to make it fit. That can remove printed credits, distributor marks, border information, or evidence useful for authentication. Return the frame or choose a slightly more accommodating design.
If the opening is larger, centre the poster on an acid-free board and use a mount to create a controlled border. A mount also helps prevent the poster touching the glazing. For a valuable original, don't use ordinary masking tape or self-adhesive corners. Choose a reversible method and make sure the paper can move slightly rather than being stretched tight.
Installing the frame
Handle the poster with clean, dry hands and support the sheet from underneath. Assemble the layers in this order:
- Glazing: Keep the inner surface free from dust and fingerprints.
- Spacer or mount: Create separation from the glazing.
- Poster: Position it without pulling the corners into alignment.
- Acid-free backing: Support the package without excessive pressure.
- Frame closure: Secure the backing evenly around the perimeter.
Check the front under angled light before sealing the back. Dust, stray fibres, and small bubbles are much easier to correct at this stage than after the frame is on the wall.
The wall installation needs equal care. A large frame should have fixings suited to the wall material, with weight distributed rather than relying on a single weak point. Plasterboard, brick, and solid masonry each require different hardware. Keep the frame clear of radiators, damp-prone areas, and places where sunlight falls directly across the paper.
A frame that looks level on the floor can appear crooked once installed. Use a spirit level, mark the fixing points carefully, and check the hanging hardware before lifting the assembled piece. If the frame is heavy or the glazing is rigid, have another person support it during installation.
Common Mistakes to Avoid When Framing
The most damaging framing errors usually begin with a reasonable assumption. A buyer sees “maxi poster” and assumes every 24 x 36 frame will fit every maxi poster. UK listings commonly use that label and translate the format to 61 x 91.5 cm or 915 x 610 mm, but the label doesn't guarantee the same trimmed edge, visible border, or fit tolerance across products. The practical issue is presentation allowance, not the name alone, as shown by this 24 x 36 maxi-poster frame listing.
Don't force a nominal fit
An exact-fit frame can damage a poster with slightly irregular edges. It may press against the corners, hide important printed material, or create a ripple where the paper has changed shape. Check the aperture, decide whether the poster should be full bleed or mounted, and leave room for a spacer where the paper needs separation from the glazing.
Another mistake is confusing a US one-sheet with a UK quad. A 24 x 36 frame is a common choice for general posters and alternative film art, but it isn't a substitute for the traditional horizontal British cinema format. Measure the actual poster before buying any frame, particularly when importing material from another market.
Treat glazing as a preservation decision
Bright rooms expose the weakness of basic framing quickly. Standard glass may be acceptable for a low-value print in a controlled space, but valuable original paper needs glazing selected with UV exposure, glare, breakage, weight, and room use in mind. UK frame suppliers increasingly offer shatterproof glazing for large formats, and large 24 x 36 frame guidance from Best4Frames reflects that safety-led approach.
Acrylic or styrene can be lighter and safer around children, pets, and narrow staircases, but some products scratch more easily. Glass may provide a familiar optical finish, yet it's heavier and more vulnerable to breakage. The right choice depends on the poster's value and the room, not on a blanket claim that one material suits every collector.
Before framing, store the poster away from damp, heat, and direct light. Keep it supported and avoid repeated rolling and unrolling. Don't put weight directly on a printed surface, and don't try to iron out folds or cockling at home. If the sheet is fragile, stained, torn, or heavily folded, ask a conservator or experienced framer before mounting it.
Use a simple decision framework:
- Decorative reprint: A ready-made frame with a checked aperture may be sufficient.
- Contemporary limited print: Add acid-free backing and glazing appropriate to the room.
- Original film poster: Use reversible mounting, separation from the glazing, and conservation-grade materials.
- Damaged or irregular poster: Commission bespoke framing rather than trimming or forcing the sheet.
- High-value or irreplaceable piece: Get professional advice before any adhesive, cleaning, or flattening.
The best 24 x 36 poster frames are the ones that fit the paper without coercion and protect it without making future removal difficult. A sharp-looking display matters, but preserving the original surface, edges, colour, and provenance matters more.
Famous Movie Posters offers guaranteed original film posters, including US One Sheets and UK Quads, with specialist guidance for collectors choosing the right display format. Visit Famous Movie Posters to find an authentic poster and make a properly measured framing decision from the start.