



You've found the original poster, chosen the wall and ordered a frame that appears to match. Then the Quad arrives, the rebate is slightly too tight, or the large sheet of glazing flexes when you lift it. That's an expensive moment to discover that large poster frames in the UK need planning beyond a nominal size.
A reliable display starts with the poster's actual measurements, not the label on a product page. It also depends on the right separation from the glazing, suitable backing, safe packaging and fixings that match the wall. Get those details right and your home cinema, living room or gallery corner can show an original film poster securely without compromising its condition.
Table of Contents
- Introduction to Large Poster Framing
- Measuring Posters and Frame Rebate
- Choosing Conservation Grade Framing
- Packaging and Transport Best Practices
- Planning Wall Fixings and Layout
- Insider Tips for Longevity and Display
- Conclusion and Next Steps
Introduction to Large Poster Framing
A collector preparing a home cinema often thinks first about appearance. A black moulding, clean glazing and a strong visual centre seem to be the main decisions. In practice, the less visible choices matter just as much: whether the frame opening matches the paper, whether the poster touches the glazing, and whether the wall can safely carry the completed assembly.
The British Quad is a particularly common source of confusion. Its traditional format is large enough to dominate a room, but old posters may have folds, uneven edges, margins or previous conservation work that alter the dimensions you need to accommodate. A frame advertised as 30 × 40 inches may still be unsuitable if its internal opening, rebate or orientation doesn't match the actual sheet.
Practical rule: Measure the poster, specify the complete frame stack and plan the wall fixing before you place the order.
This approach gives you three useful outcomes: a frame that accepts the artwork without forcing it, glazing that remains stable and safely separated, and a wall mount that distributes the load. The display will look better because the practical work has been done first.
Measuring Posters and Frame Rebate
Accurate measurement begins with the paper, not the frame. Lay the poster flat on a clean surface and let it settle naturally. Don't pull hard on folds or press down raised areas, particularly if the sheet is old or has conservation treatment.
Measure the artwork itself
Use a rigid metal rule or tape measure and record the width and height in millimetres first, followed by imperial measurements. Measure the full paper dimensions, including blank borders, rather than only the printed image. Check each dimension more than once and note whether a fold, edge repair or mount will affect the finished fit.
The British Quad measures 30 × 40 inches, approximately 76.2 × 101.6 centimetres, or 762 × 1,016 mm. Its name comes from the Crown paper format. One Crown measured 15 × 20 inches, so four Crown sheets formed a Quad. The format developed within Britain's paper-sizing system, rather than from the American one-sheet standard. Learn more about the British Quad's history and dimensions.
Orientation also deserves attention. Early British Quads were commonly portrait, while post-war examples became predominantly horizontal. Check the actual poster rather than assuming every 30 × 40-inch sheet is intended to hang the same way.
Check the rebate and image size
A frame's external dimensions include the moulding, glazing and backing, so they don't tell you whether the poster will fit. Ask for the internal opening, image size or rebate measurement. If you're adding a window mount, distinguish that opening from the overall frame size.
Allow a small tolerance, usually around 2–3 mm, where the construction and condition of the paper permit it. The opening mustn't pinch the sheet, but excessive clearance can allow movement or create an untidy visible gap. For fragile or valuable material, let a framer decide the final clearance after inspecting the poster.
| Poster type | Dimensions | Orientation |
|---|---|---|
| UK Quad | 762 × 1,016 mm, 30 × 40 in | Portrait or landscape, depending on period and design |
| US One Sheet | Confirm the actual sheet in millimetres and inches before ordering | Generally portrait |
| A1 | 594 × 841 mm, 23.4 × 33.1 in | Usually portrait, but artwork can vary |
For related sizing terminology, the guide to 30 × 20 poster frames is useful because it separates the advertised frame size from the opening that receives the artwork.
Choosing Conservation Grade Framing
You see this problem in the workshop all the time. A large poster arrives in a stylish frame, but the sheet is pressed against the glass, the backing is acidic, and the rebate is too shallow for the package. For a modern decorative print, that may be acceptable. For an original cinema poster, it is a poor specification that can leave cockling, transfer, staining or abrasion.
Start with the actual millimetre size of the poster you have in hand, then specify the frame around the paper rather than buying a frame first and hoping it will do. Large posters often need either a window mount or clear spacers to keep the sheet off the glazing. That gap is a protective detail, not just a design choice. Conservation framing in the UK usually means lignin-free mountboard, reversible hinges, and enough rebate depth for the full stack of glazing, mount, artwork and backing.
Ready-made or bespoke
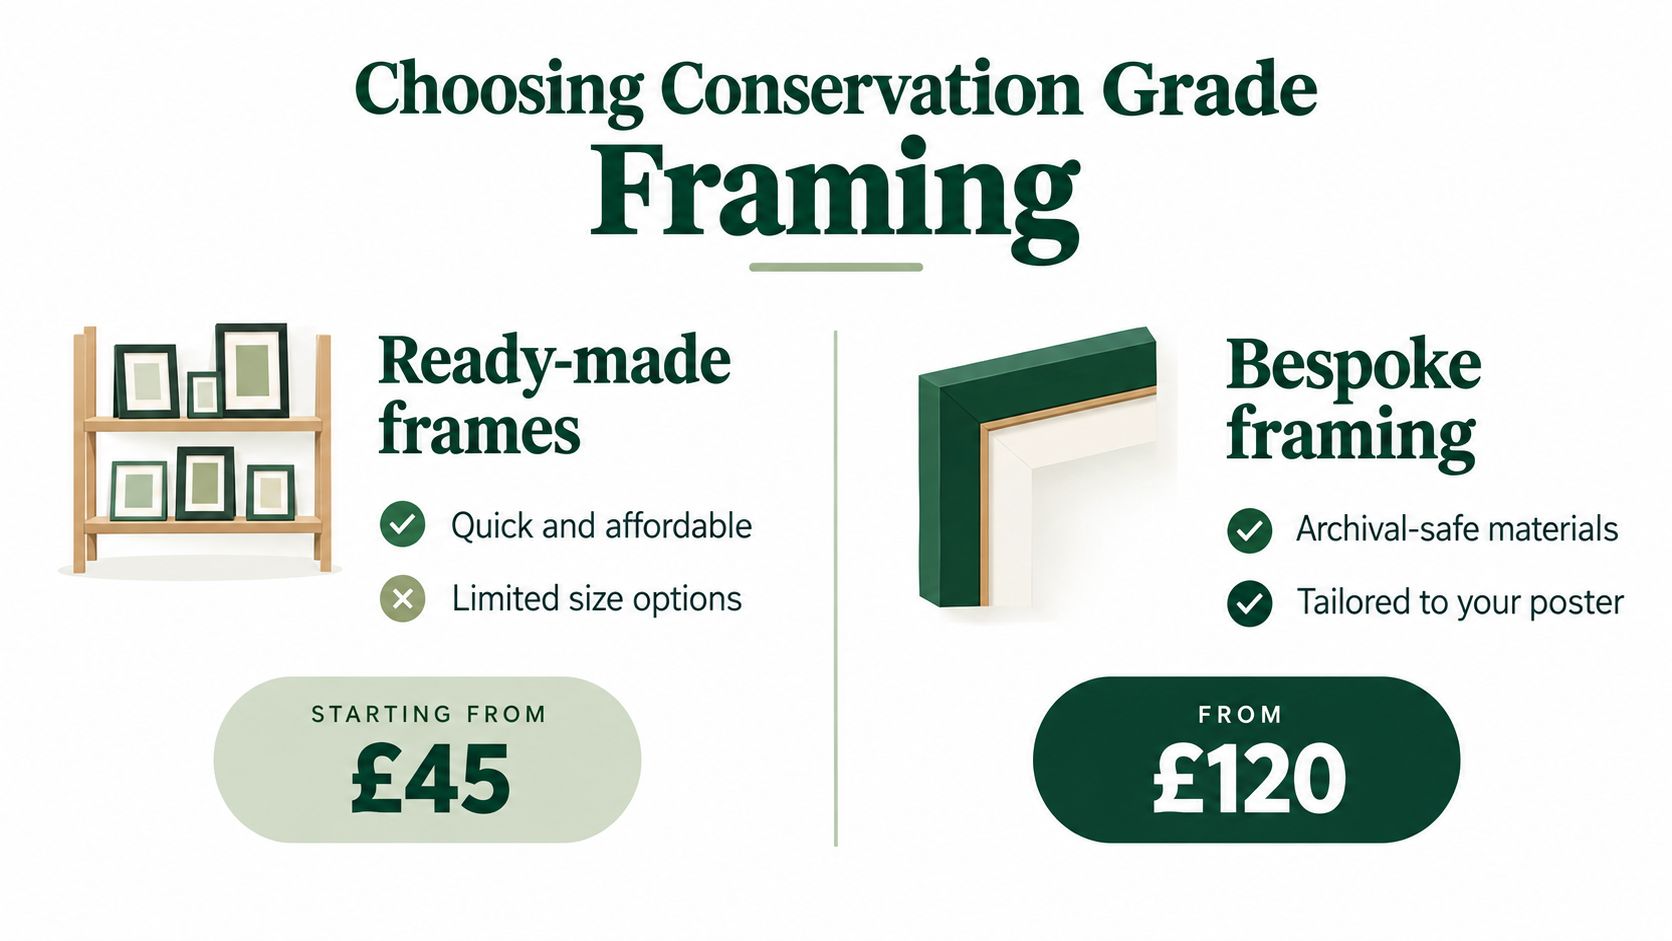
Ready-made frames suit some jobs. If the poster is standard-sized, stable, reasonably flat and not especially valuable, an off-the-shelf frame can be a sensible budget option. The trade-off is control. You may not know the quality of the backing, whether the board is conservation grade, or whether the moulding has enough depth for spacers and proper clearance.
Bespoke framing gives you control over the parts that matter most. A framer can allow for folds, deckled or uneven margins, hinge placement, the separation from glazing and the true rebate size, rather than the advertised frame size alone. For a valuable Quad or One Sheet, that usually matters more than shaving a little off the frame cost.
Specify the protective layers
A sound conservation specification should cover the whole package, not just the moulding:
- Mountboard: Use conservation or museum-grade, lignin-free mountboard. Standard acidic board can speed up deterioration and discolour adjacent paper.
- Separation from glazing: Use a window mount or spacers so the poster does not sit against the glazing. In practice, the exact gap and mount overlap need to suit the paper, especially if there are edge inscriptions, weak folds or trimmed margins.
- Hinges: Hinge the poster with reversible conservation materials rather than sticking the full sheet down to a backing board.
- Glazing: For original posters, UV-filtering glazing is usually worth discussing. It reduces one of the main display risks, but it also affects cost, weight and reflection, so the right choice depends on where the frame will hang.
- Backing and sealing: Use stable backing materials and close the frame package against dust without cramming the contents tightly into the rebate.
Appearance still matters, but it should come after specification. Ask the framer what board, glazing and hinging method they use, and whether the finished depth suits a large poster safely. If you want a useful overview before ordering, this guide to frames for movie posters is a practical starting point.
Packaging and Transport Best Practices
A large framed poster is vulnerable during handling because the glazing spans a wide area and the corners can receive impact even when the outer box looks intact. Packaging should prevent movement inside the parcel, cushion the frame from shocks and make the object easy for a carrier to identify and handle.
For an unframed poster, use a purpose-sized tube only when rolling is appropriate for the artwork and its condition. Valuable or fragile sheets may need flat handling instead. If you're sourcing packaging for rolled material or accessories, shipping mailing tubes provide a useful reference for selecting a suitable tube rather than improvising with a weak postal carton.
Build the package in layers
A practical workflow looks like this:
- Protect the glazing. Cover the glazing with acid-free tissue or another suitable protective layer. Avoid materials that can transfer adhesive, colour or acidity to the frame.
- Add a kraft-paper layer. Wrap the complete frame in kraft paper and secure it without placing tape directly on the moulding or glazing.
- Guard the corners. Fit foam or purpose-made corner protectors so an impact doesn't transfer straight into the frame joints.
- Use a rigid outer box. A double-wall box should hold the frame firmly without allowing it to slide. Add cushioning around the edges and faces, not just loose fill.
- Mark the parcel clearly. A fragile label won't replace proper packing, but it communicates the handling risk.
- Choose tracked delivery. For valuable artwork, use tracking and insure the parcel at an appropriate value. Confirm the carrier's rules for oversized, fragile or glass-containing shipments before booking.
Packaging principle: The frame shouldn't be able to move inside the box, and the glazing shouldn't be able to flex against the poster.
Photograph the artwork, frame and completed package before collection. Keep the measurements and declared value with the shipment record. For a large frame, confirm access at both ends, including stairs, narrow doorways and the installation location. A carrier surcharge or failed delivery is easier to avoid when dimensions and handling requirements are agreed in advance.
Planning Wall Fixings and Layout
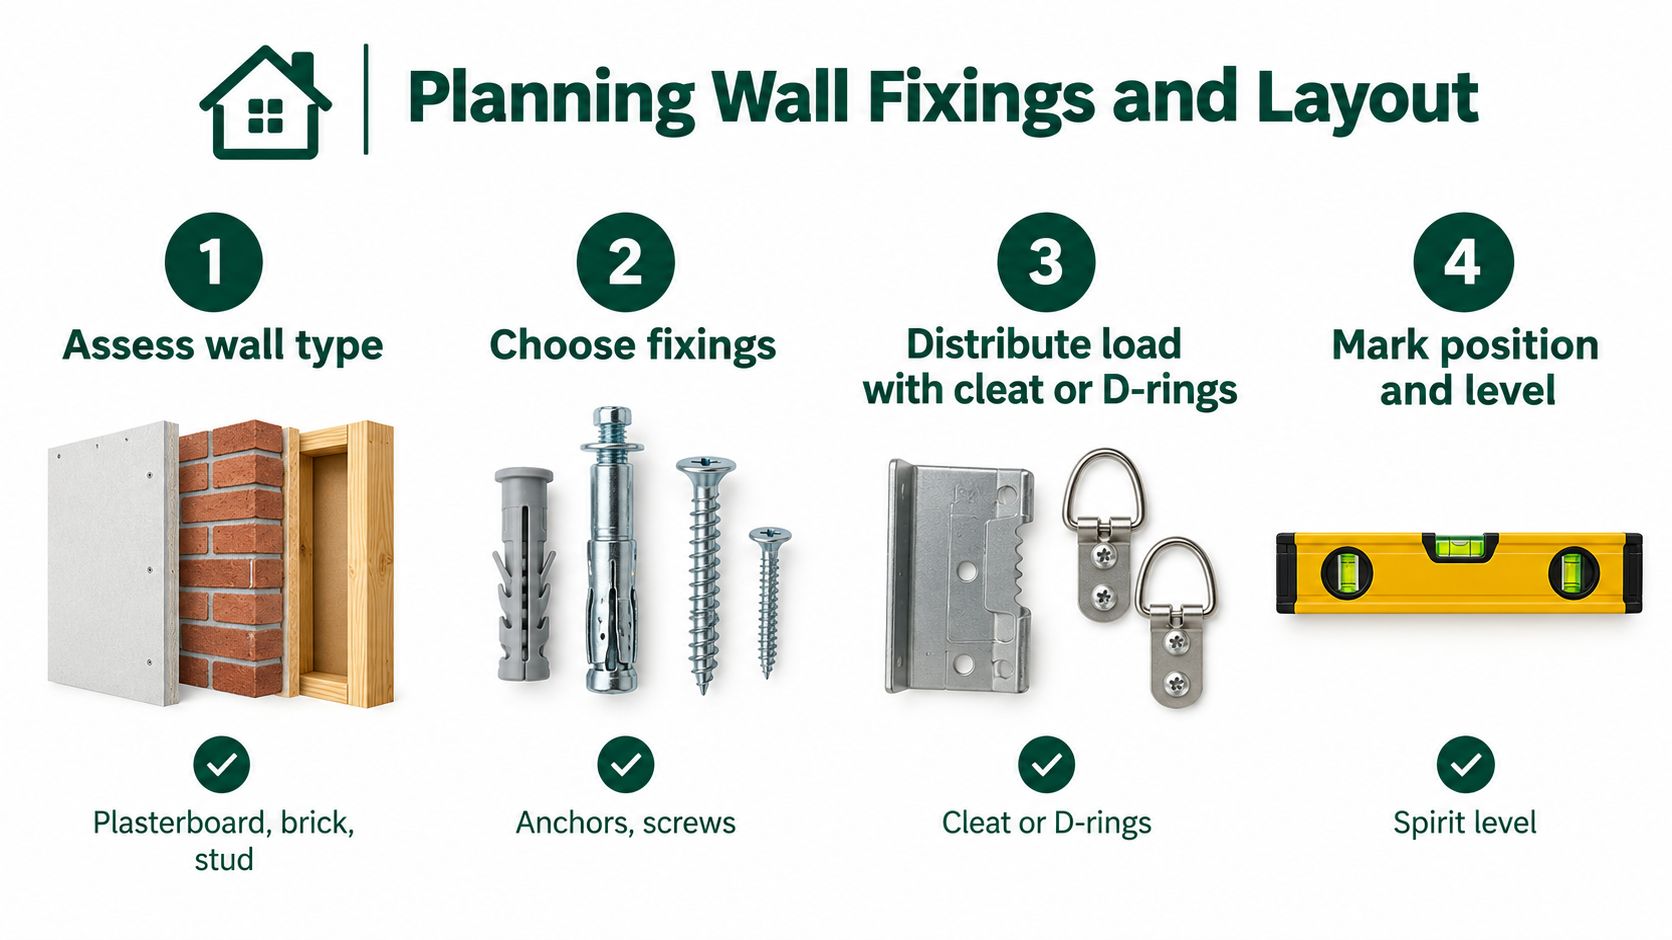
A large frame becomes a safety problem when the fixing is chosen for an empty frame rather than the complete weight of moulding, glazing, mount and backing. The wall type matters just as much. Plasterboard, brick and timber studs each require a different approach.
Match the fixing to the wall
For plasterboard, use a suitable hollow-wall anchor. Brick generally needs an appropriate wall plug and screw, while a timber stud provides a stronger fixing point where available. Two separate fixing points distribute the load and help keep a wide frame level. For particularly large assemblies, a cleat or other load-distributing system can be preferable to relying on one wire and one hook.
The glazing choice affects weight and handling. Standard 2 mm glazing is common in smaller frames, but guidance recommends moving to 3 mm clear cast acrylic when a frame exceeds roughly 70 cm in either dimension, because it flexes less across a large span. Acrylic is also safer in stairways, public-facing areas and homes with children, although it scratches more easily and can attract dust through static. See the glazing guidance for large-frame material choices.
Frames longer than roughly 1.2 metres on their longest edge may need engineering for the combined frame and glazing weight rather than ordinary ready-made construction. A lightweight acrylic frame isn't automatically conservation grade, so assess safety and archival protection separately.
Set the layout before drilling
Make a paper or card template matching the frame's external dimensions. Tape it to the wall, view it from the main seating position and check door swings, speakers, lights and sightlines. This is especially useful in a home cinema, where a large Quad may compete visually with a screen or acoustic treatment.
For a single poster, align the frame with the room's main architectural line rather than judging its position from one nearby object. For a gallery arrangement, lay every template on the floor first and keep the spacing intentional. Mark both fixing points, use a spirit level and check the wall surface for damp or external-wall condensation before installation.
A rigid backing helps prevent the poster and frame from bowing. Don't mount directly against a damp or external wall. Where shelving or storage sits against an outside wall, the National Trust recommends leaving about 2.5 cm of ventilation behind it. Use this practical guide to tools for hanging artwork when checking anchors, screws and levelling equipment.
The home cinema setup guide can also help you consider the frame as part of the room, rather than treating it as an isolated wall decoration.
Insider Tips for Longevity and Display
A large framed poster often looks fine on day one, then starts to suffer because the room works against it. The usual culprits in UK homes are direct sun, radiators, fireplaces, kitchens, bathrooms and cold external walls that create small swings in temperature and moisture. UV-filtering glazing helps, but it does not make a bright south-facing wall safe for paper.
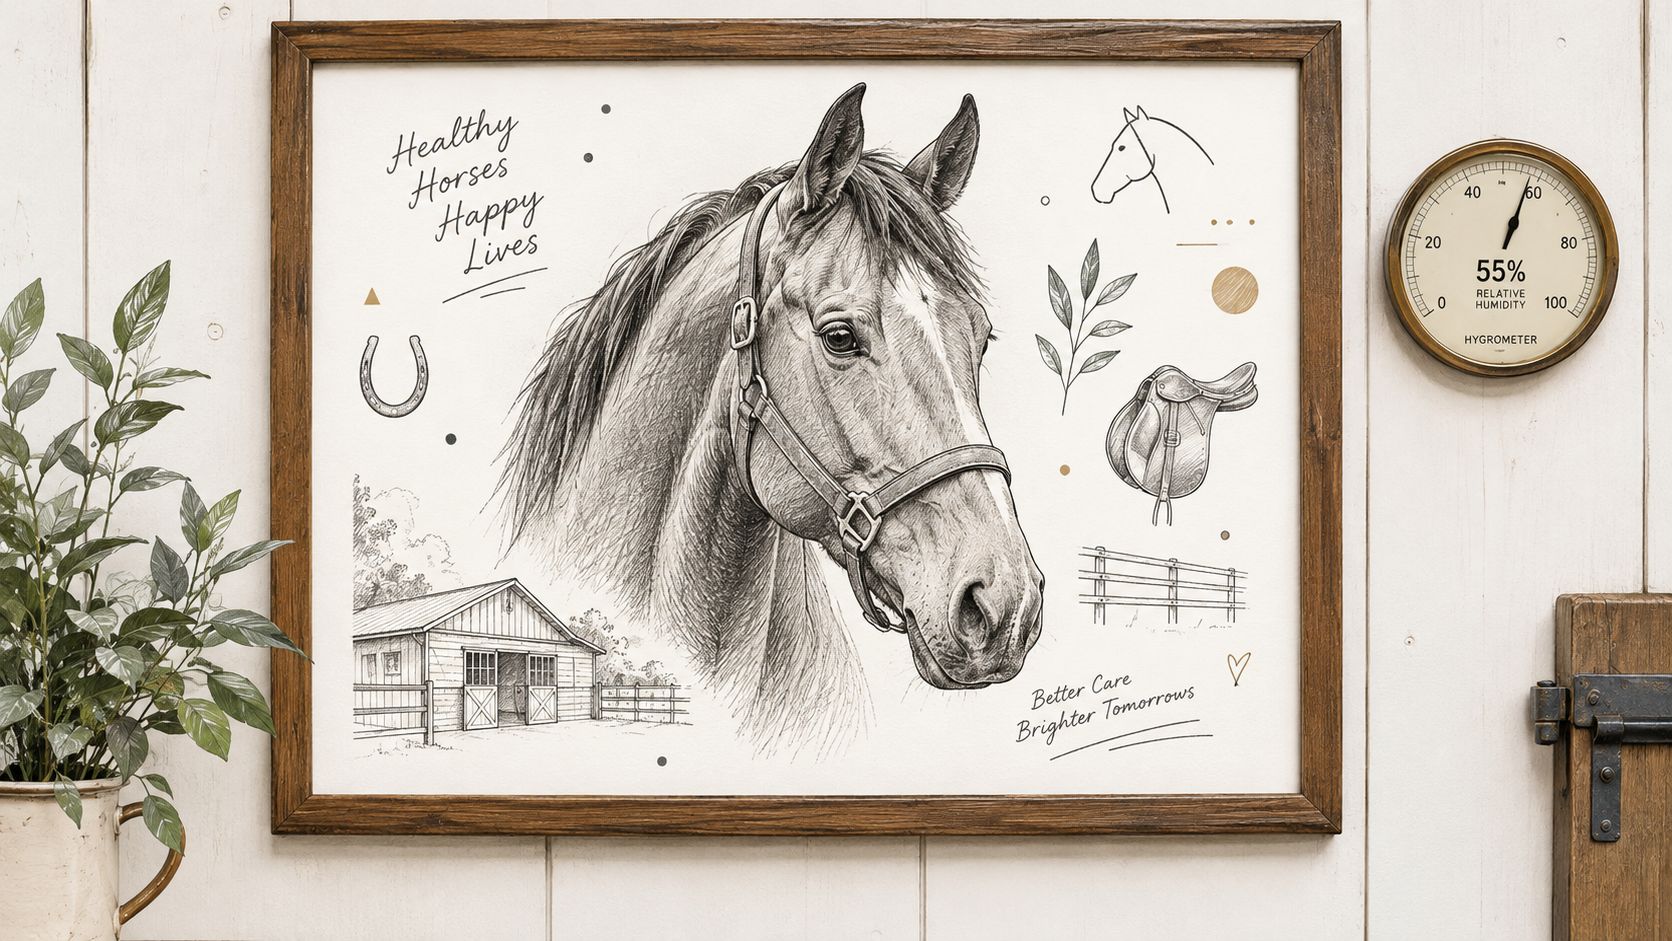
Keep conditions steady. For paper, a stable range of 16–19°C and 45–60% relative humidity is a sensible target, with humidity kept below 60% where possible to limit mould and pest risk. In practice, consistency matters as much as the reading itself. Repeated shifts between dry heat and damp air can leave a poster brittle, cockled or lightly stuck to the glazing.
Maintain the frame, not just the poster
Frames need routine checks. Dust acrylic with a clean anti-static cloth and a cleaner made for acrylic, because paper towels and general household sprays can scratch or haze the surface. Check the backing, tape seals, hinges and fixings from time to time, especially after a room rearrangement, building work or any noticeable tilt.
If you see condensation, mould, rippling or paper touching the glazing, leave the frame closed in a dry room and deal with the cause first. Opening it in damp conditions or pressing the sheet flat can make matters worse. At that point, a conservator or an experienced framer should inspect it.
The unseen materials matter too. Acid-free board is the baseline for long-term display, and some boards are buffered to slow acid migration. That said, board choice still depends on the paper and inks involved. See the Museum Galleries Scotland guidance on mounting and storage materials.
Conclusion and Next Steps
A successful large poster display begins with the actual paper dimensions, not a product label. Verify the rebate, choose conservation materials, separate the poster from the glazing, pack the frame securely and match the fixings to both wall and load. Then control daylight, humidity and heat so the finished display remains stable.
Save a simple checklist: measure, inspect, specify, protect, fix and monitor. Whether you're framing a UK Quad for a home cinema or arranging several originals together, those decisions will do more for the poster's future than a decorative upgrade alone.
Famous Movie Posters offers guaranteed original UK Quads, US One Sheets and other cinema formats, alongside UK-made framing options and purpose-designed protective packaging. Visit Famous Movie Posters to find an original poster and arrange a display that suits your frame, wall and conservation priorities.